Getting started
This chapter walks the whole road once: from an empty brewery to a packaged, traceable lot. Everything here is covered in more depth in the reference chapters — the point now is to see the shape of the workflow.
1. Describe your brewery
Open Configuration. Two cards matter on day one:
- Brewing — how many brews you can run per day (most small breweries: 1) and your brew vessel's volume. This creates the Turn rows on the board: one row per daily brew slot.
- Equipment — follow the link to add your fermenters, brite tanks, and
kegs, each with a code (
FV1,BT1,KEG-01) and its working volume. Fermenters and brite tanks take a min–max range; a batch fits a vessel when its volume lands inside the range.
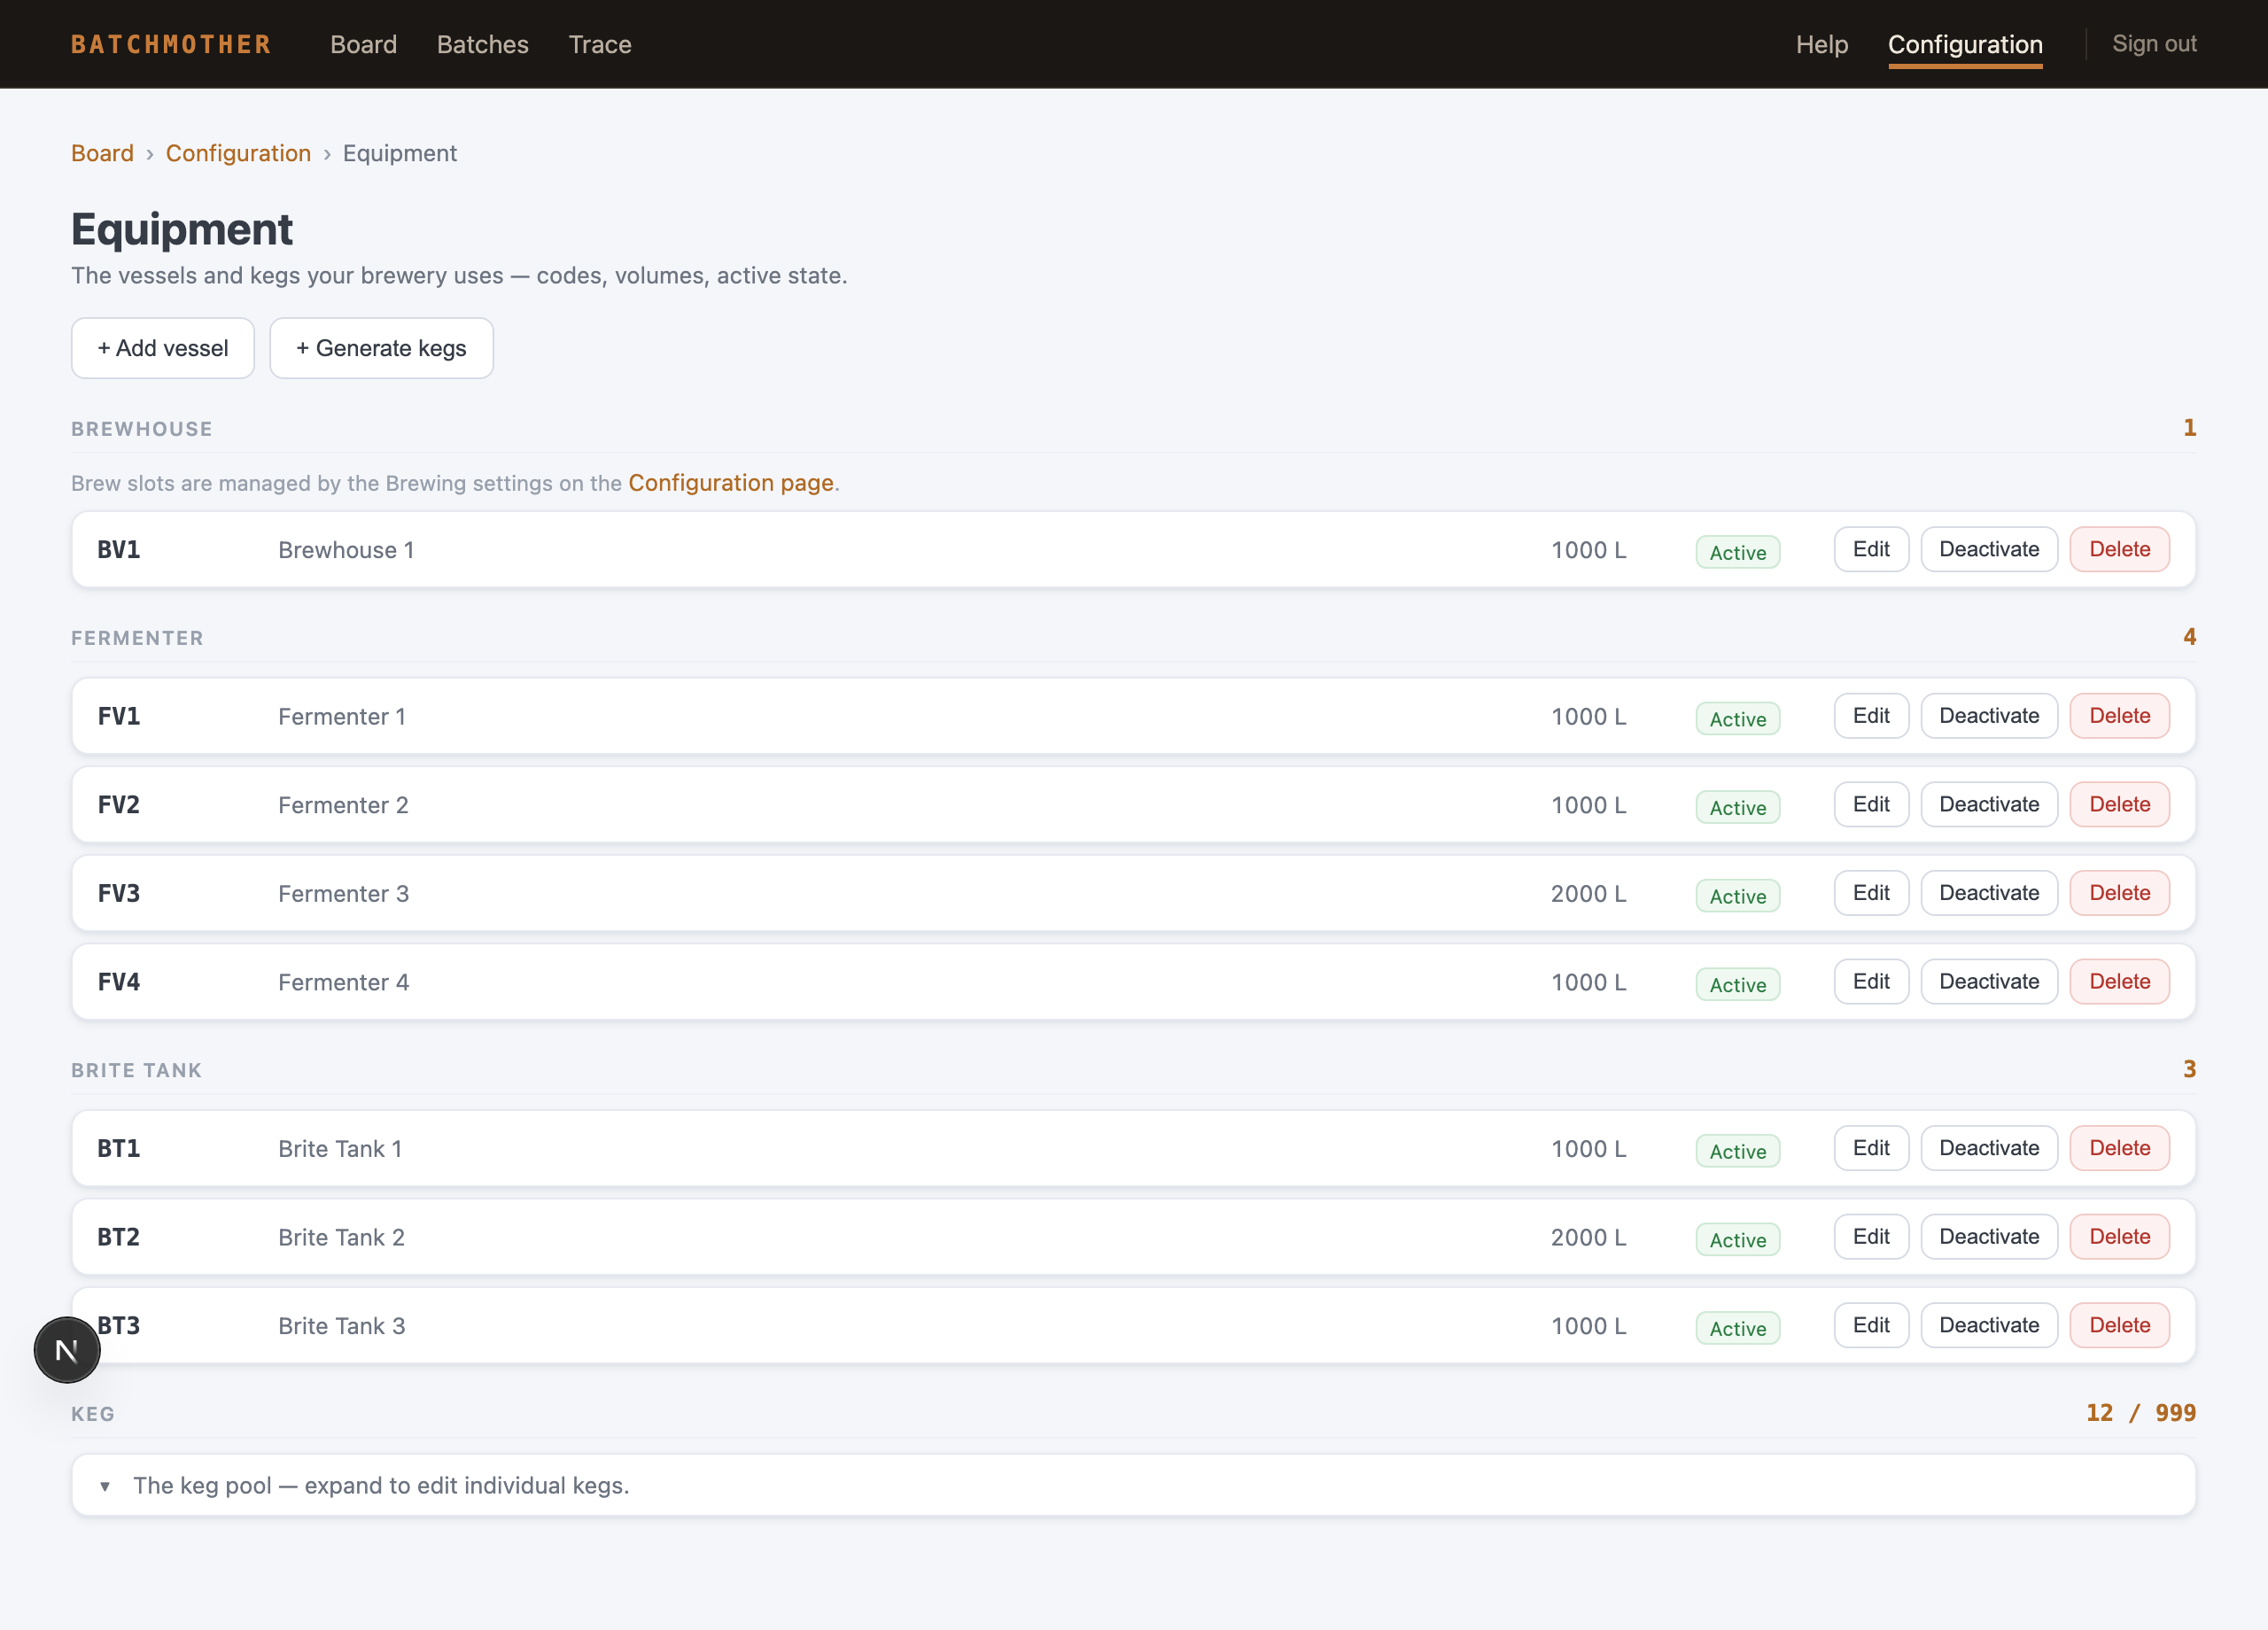
While you are in Configuration: the Traceability card can stay at Off for now — that is the point of the ladder. Come back when the routine sits.
2. Create a batch
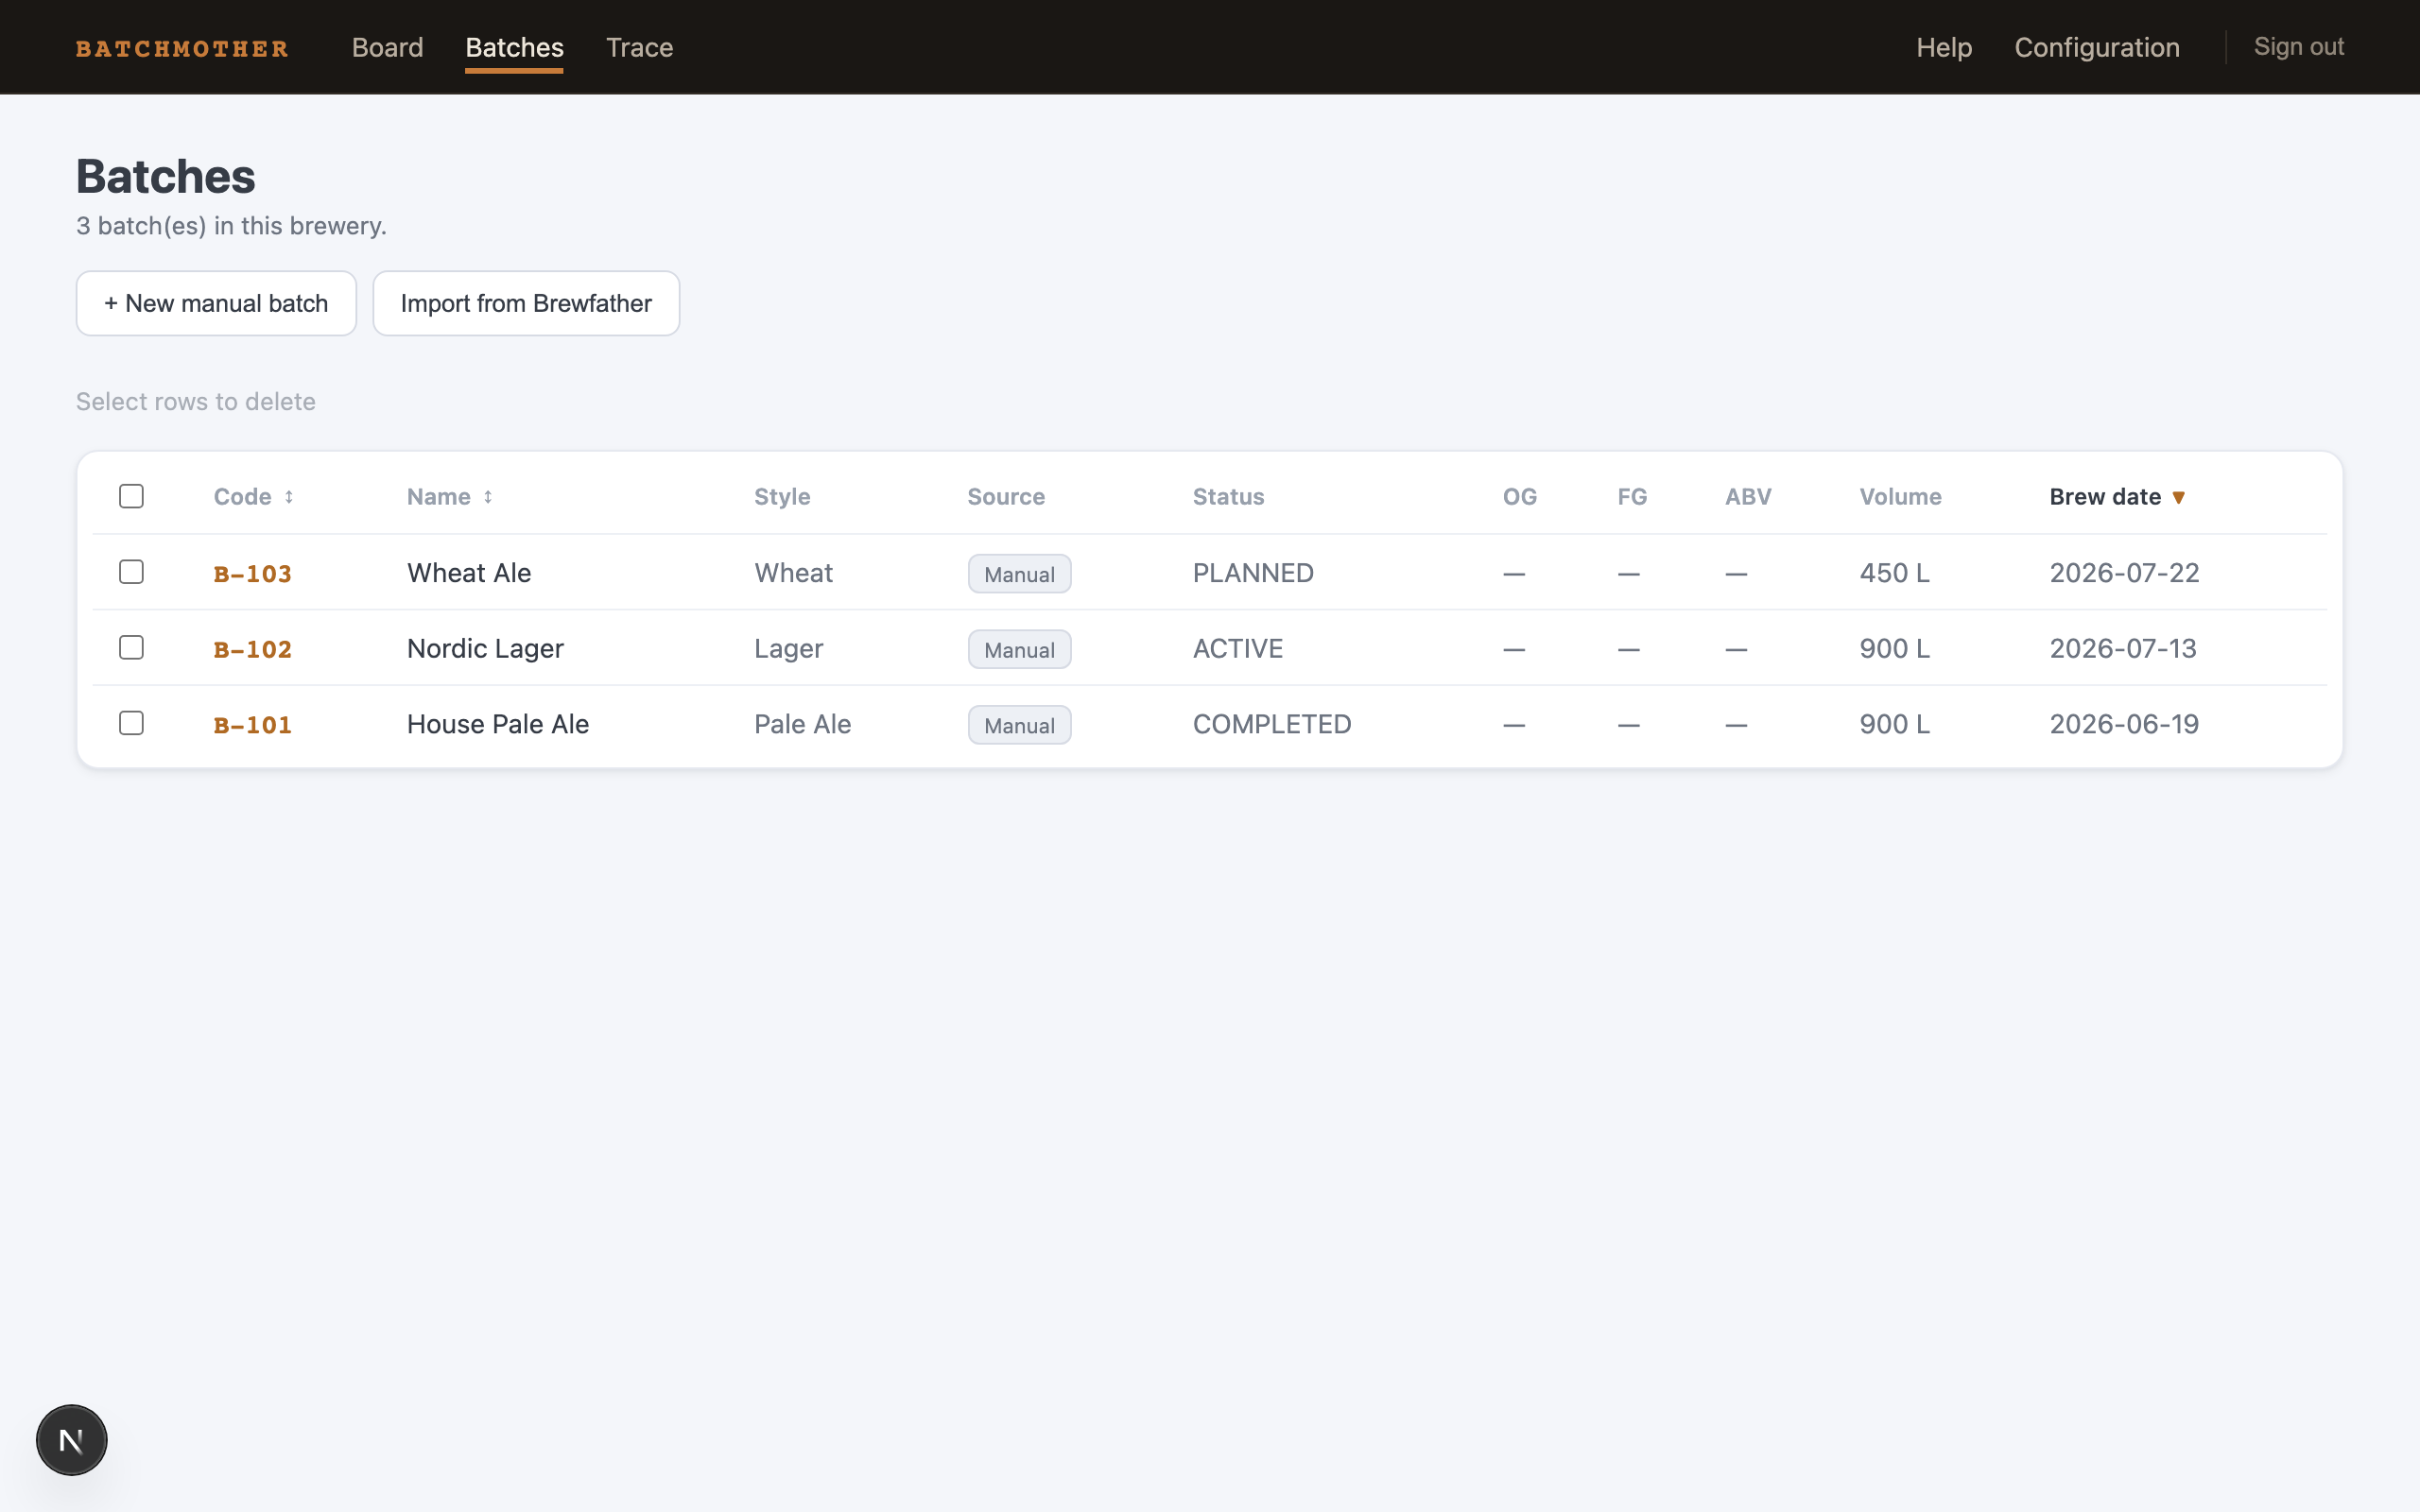
Open Batches. Two ways in:
- Import from Brewfather — connect once (Configuration → Brewfather), then pick batches from the inline import panel. Batchmother caches the recipe facts: name, gravities, batch size, planned fermentation and conditioning days.
- + New manual batch — type the same facts yourself: code, name, volume per turn, number of turns, fermentation days, conditioning days, planned brew date.
Either way the batch lands in the list as planned.
3. Let Batchmother suggest the chain
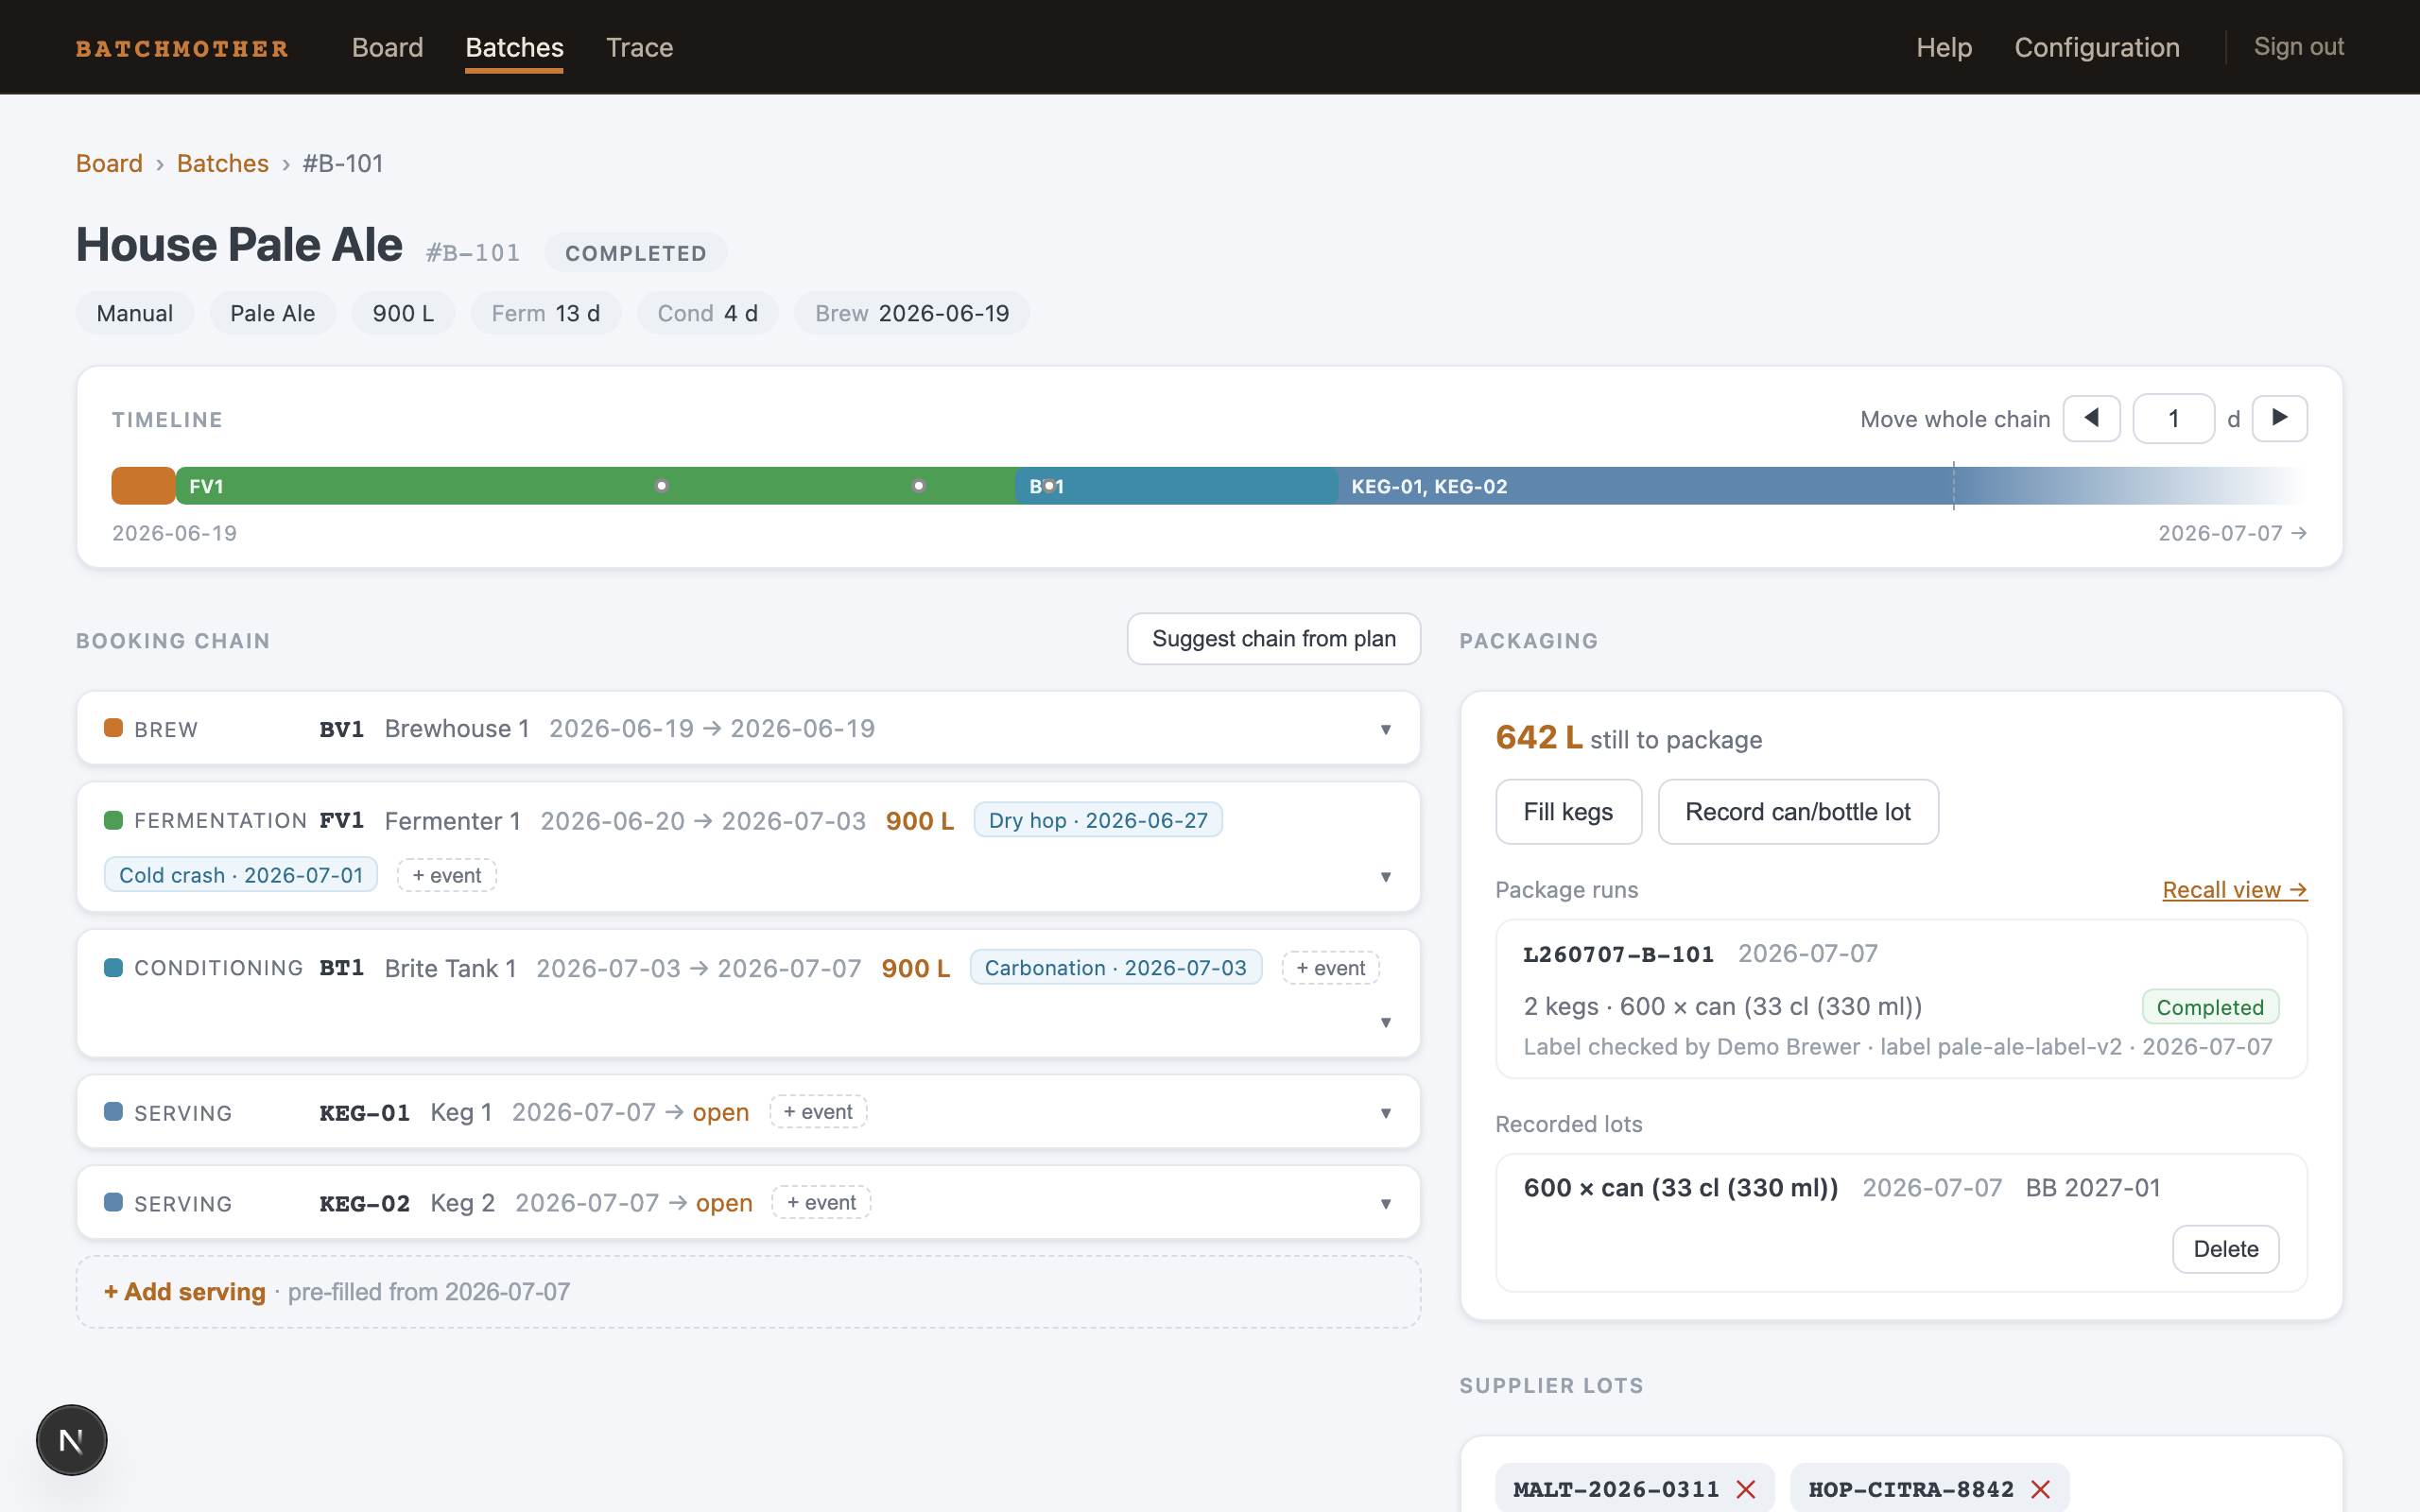
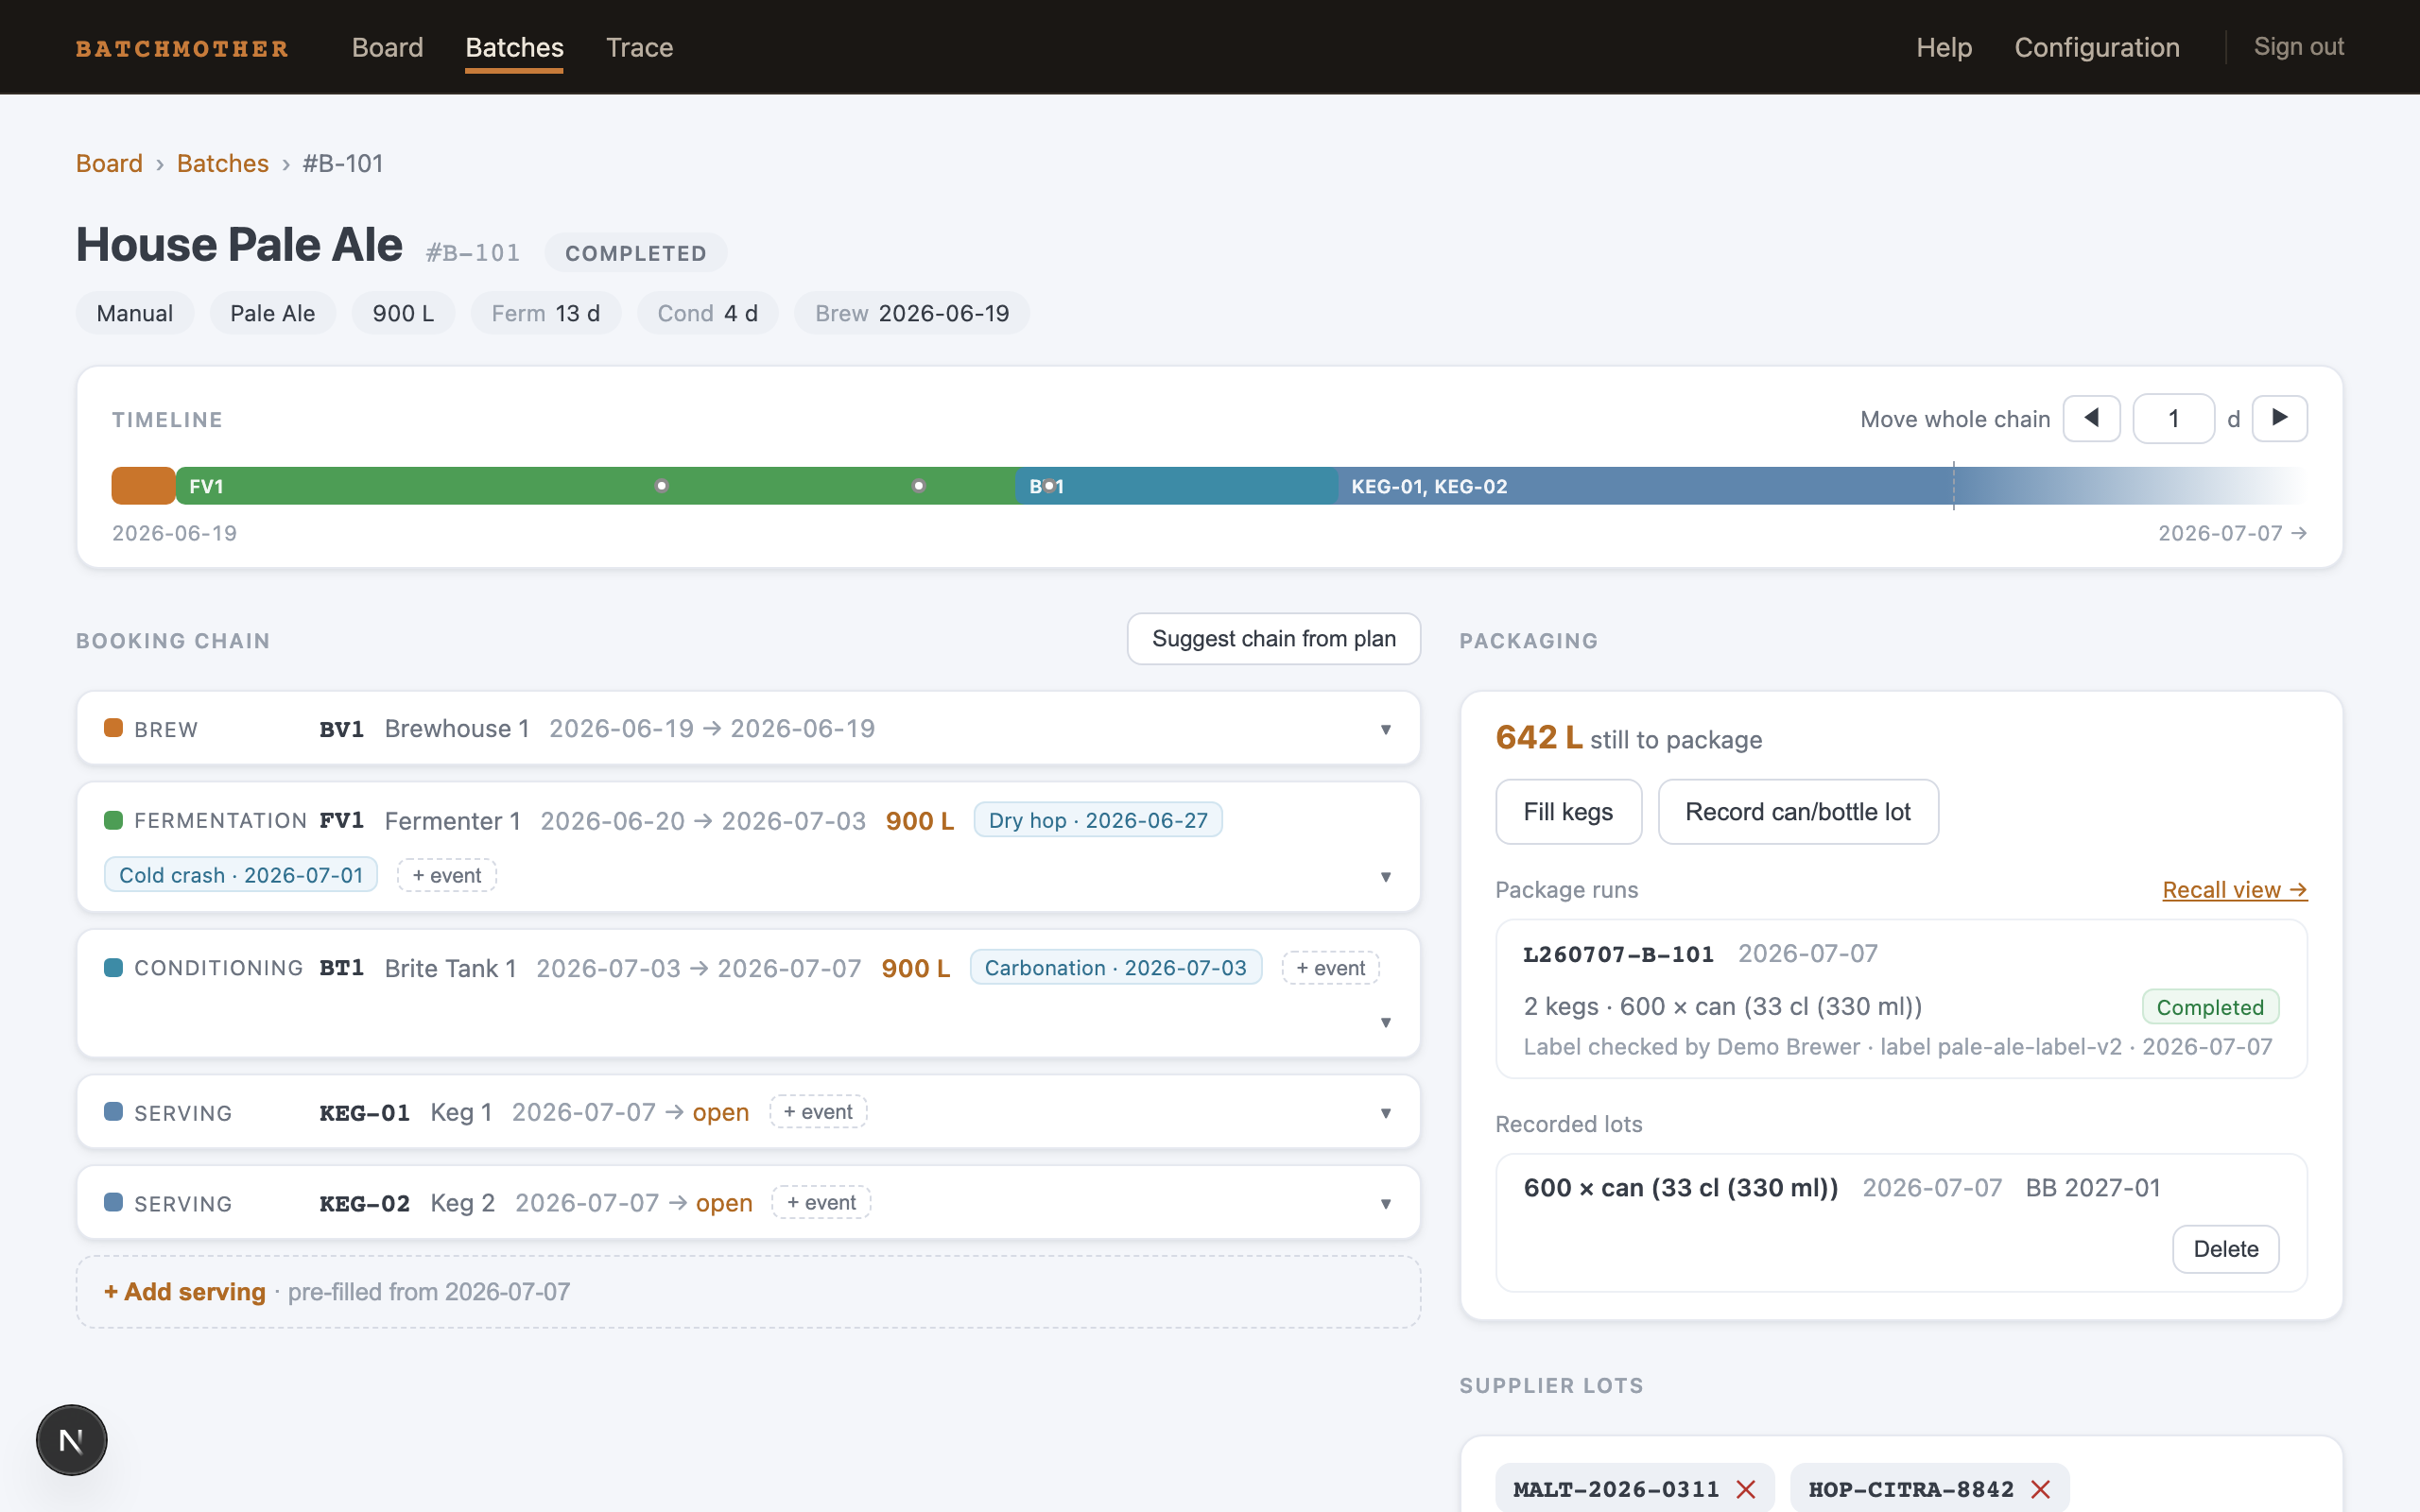
Open the batch and press Suggest chain from plan. Batchmother lays out a full chain from the batch's own facts: a brew day per turn, fermentation in a free fermenter that fits the volume, conditioning in a free vessel of your preferred type, with recipe events (dry hop, cold crash, carbonation) placed on their days. Review the dates, adjust anything, then create it all at once. You can also build the chain booking by booking — the suggestion is a head start, not a requirement.
4. Read the board
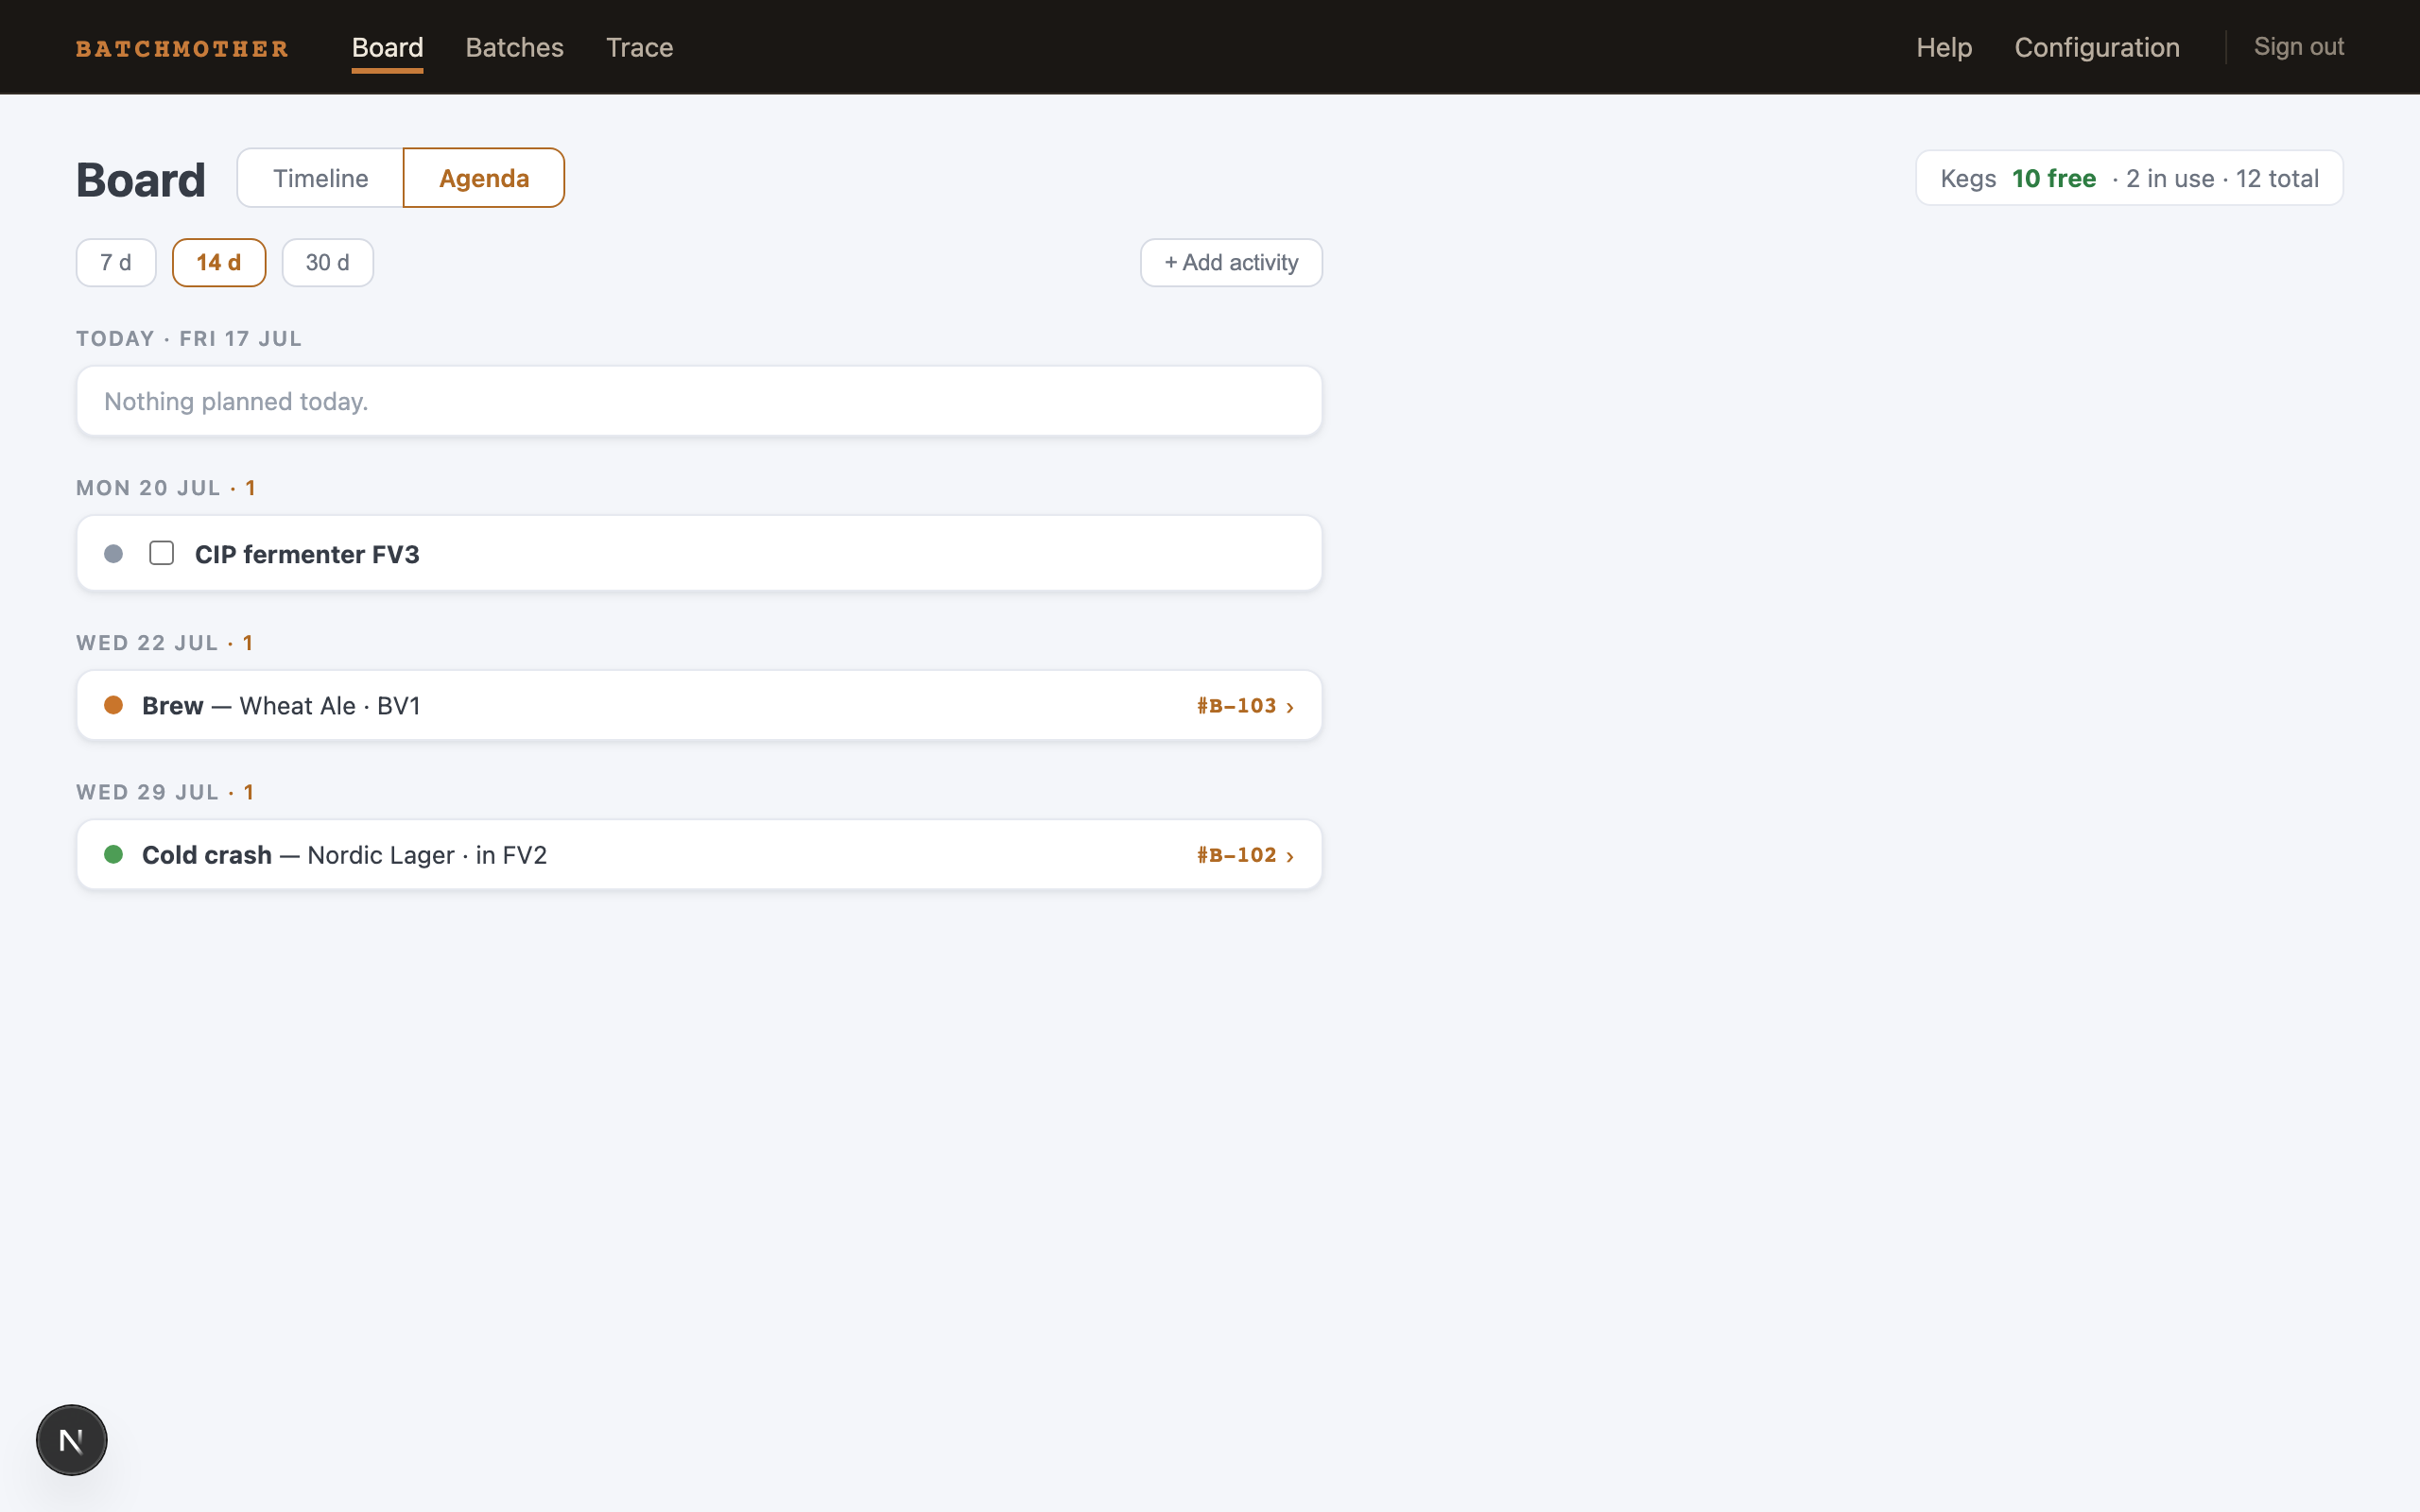
Open the Board. Your batch is now bars across vessel rows: green for fermentation, blue for conditioning, with today as the amber column. This is the answer to "does the next batch fit, and when?" — free white space is free capacity.
Switch to the Agenda view for the same plan as a to-do list: what to brew, transfer, dry hop, and package, day by day.
5. Work the days
As brew day and the days after arrive, the plan just happens — the chain is already the record. Add events to a booking when reality adds them (an extra dry hop, a cold crash moved a day), and nudge bookings when reality disagrees with the plan. If a whole batch slips, Move whole chain shifts every booking and event together.
6. Package — and meet your L-code
On packaging day, open the batch and use the Packaging card:
- Fill kegs — tick the kegs you fill; each becomes booked to the batch until you mark it returned.
- Record can/bottle lot — quantity, size, date.
The first fill or lot of the day starts a package run and generates its
L-code (L260707-B-101) — print that on the label. Add your malt, hop,
and yeast supplier lots on the Supplier lots card, then complete the run
with a label check as your trace level requires.
7. Trace it
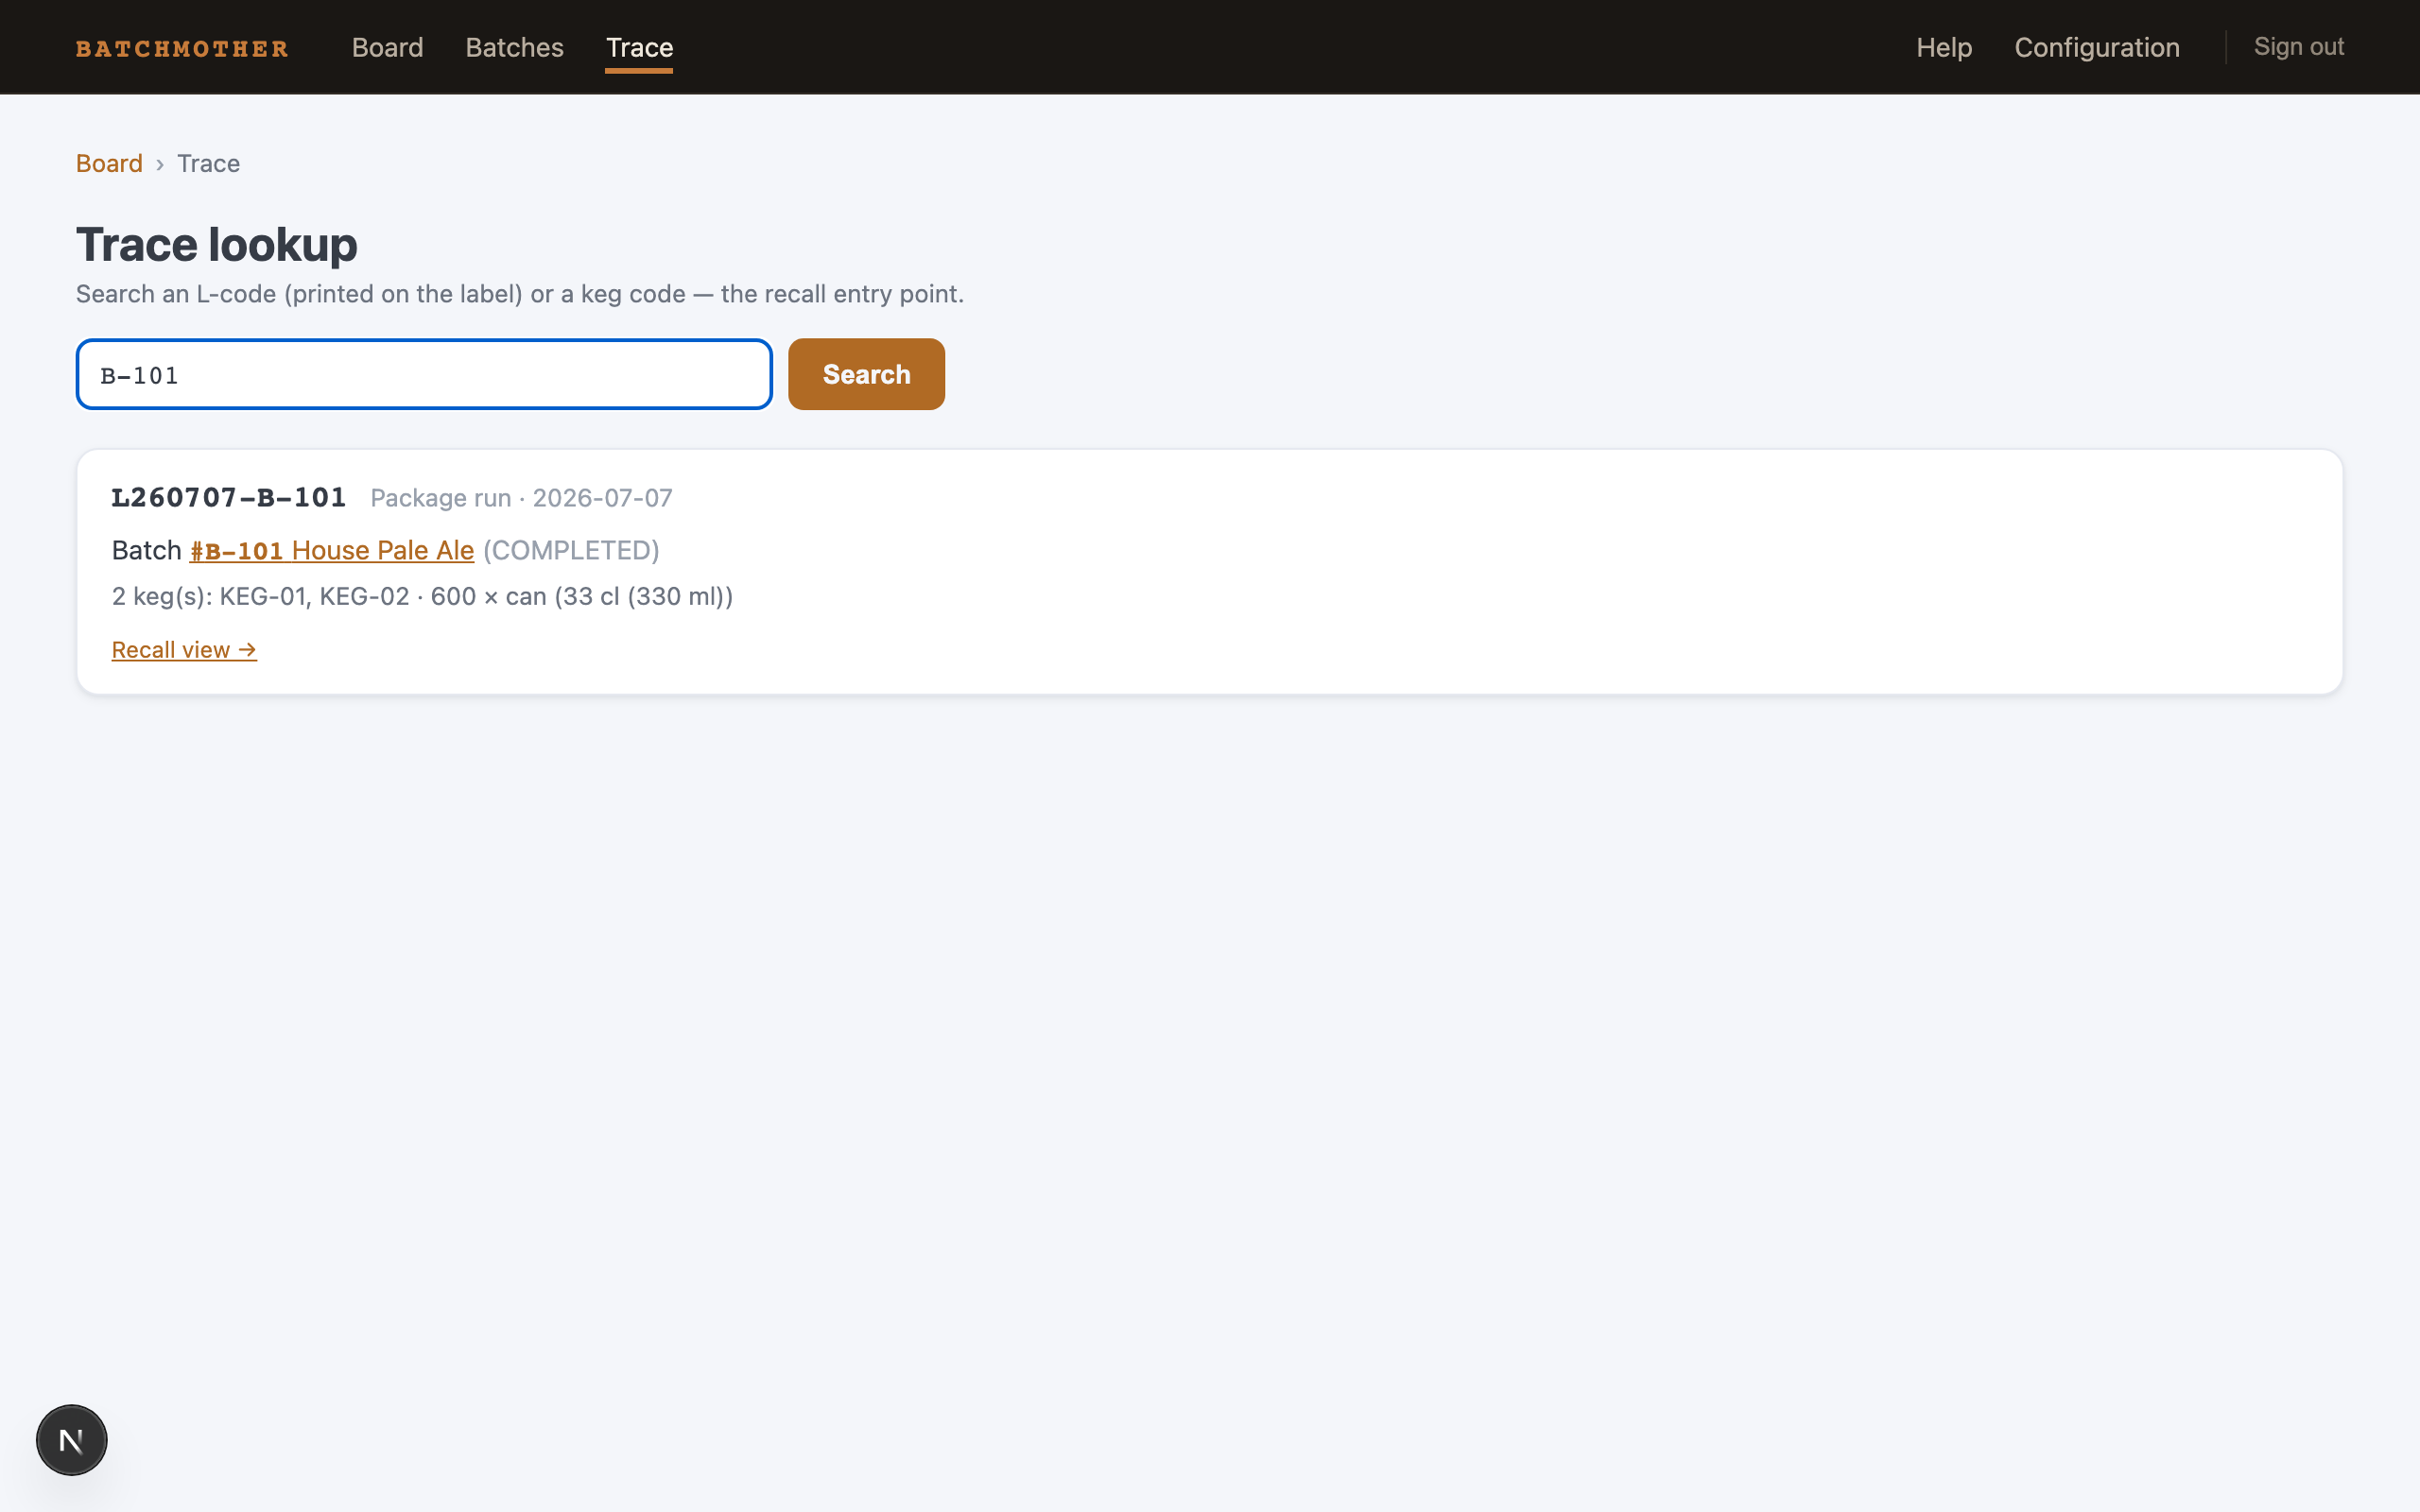
Open Trace and search the L-code — or a keg code. The batch, its chain, its outputs, and every keg's history are one search away, in both directions: from a can in someone's hand back to the fermenter, or from a suspect batch out to everything that left the brewery. The Recall view on the batch page collects it all on one printable page.
Where to go next
- The Board — everything the timeline and agenda can show you
- Batches — the chain, events, and packaging in detail
- Trace & recall — trace levels, the gate, and recall work
- Configuration — every setting explained